Step 82 - Tiling the Apartment Porch and a
Mosaic for the Entryway
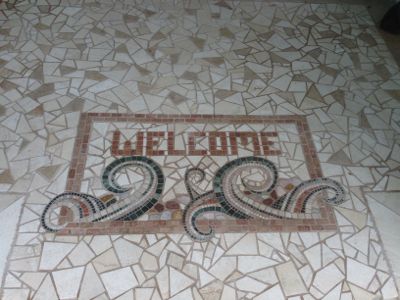
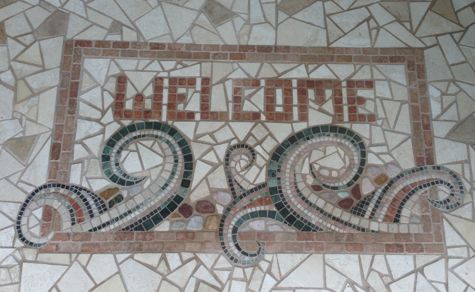
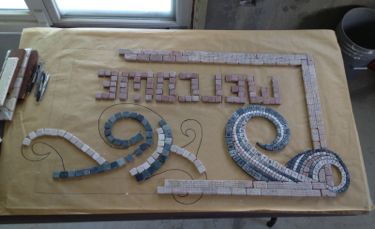
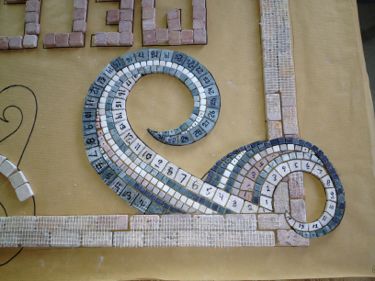
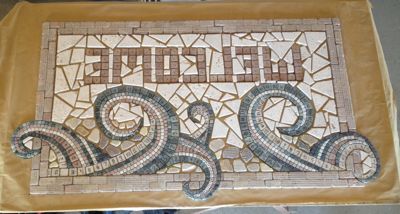
Clada designed a new mosaic for the apartment front
door. Chip and Clada worked together to
construct and install it.
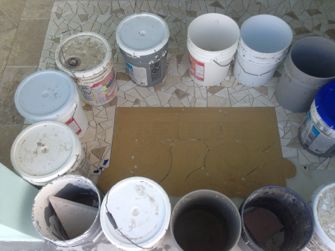
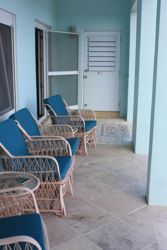
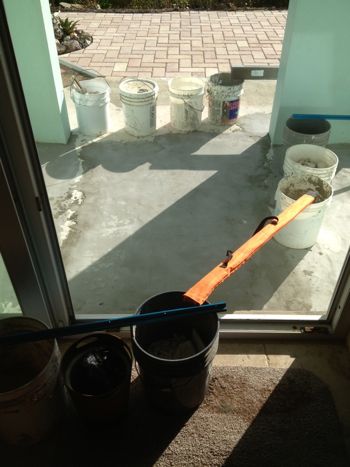
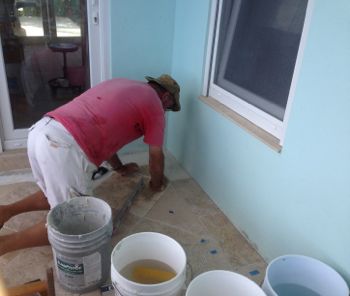
It was a big job because before it could be
installed, we had a lot of leveling and tiling to
finish on the apartment porch. We were
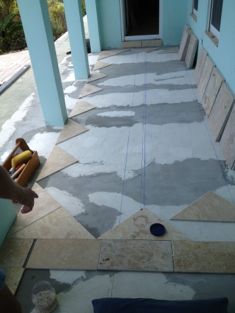
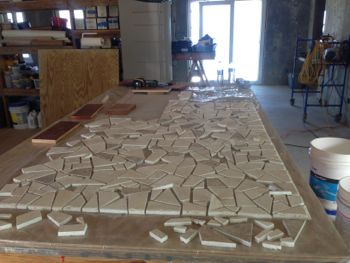
working with some small pieces of marble, so we opted to
use the reverse technique and glue it to brown paper.
Chip trimmed the marble so it would flow
nicely. The
background matches the background of the entryway.
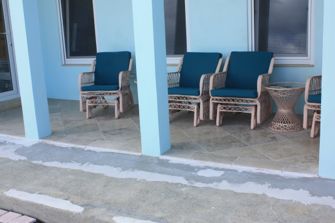
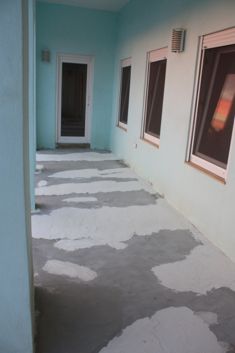
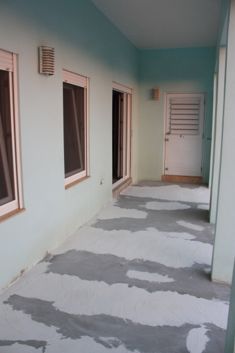
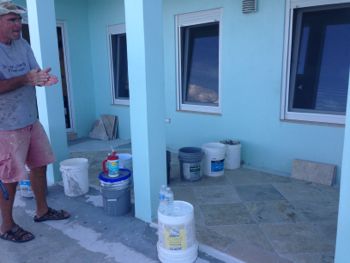
Before we could start tiling, we had to level the
porch to ensure that water drained away from the apartment
and didn't pool.
After we leveled it, Clada went back over it with thinset
to ensure we would have a good base.
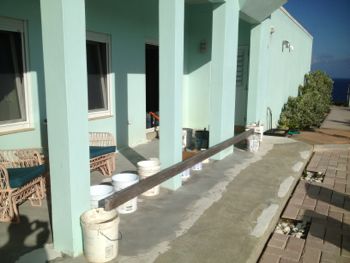
We
spent a lot of time on layout, to make sure we liked how
it flowed.
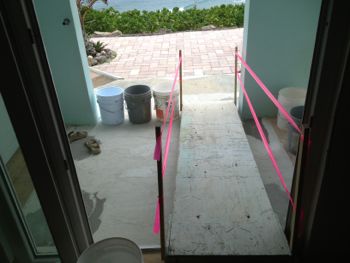
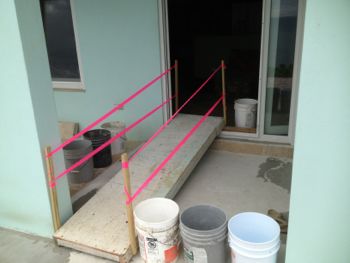
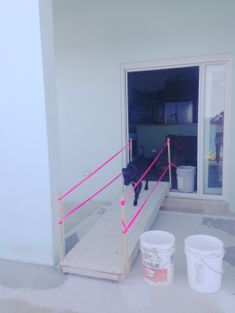
Chip came up with a cool
way to keep us and Zuni off of the wet areas while
entering the apartment.
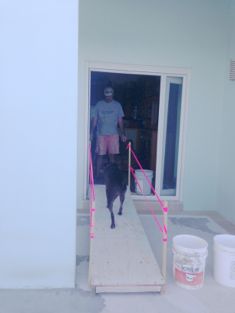
Chip trained Zuni to walk on the ramp and
not take any shortcuts.
We had to work around the weather, so it took us awhile to
get the tile installed on the porch.
Then Clada had to go into "mosaic mode"
and get the front door field tile done. The mosaic was
installed and reverse and the brown paper was removed.
Then we added more field tiles and grouted it.
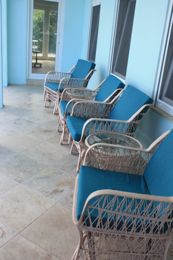
The apartment sitting area and entryway is completed.
This
journey is continuing because next we tackle the sidewalk
in front of the apartment. This
website is for the personal use of our friends and
family. If you don't want your name mentioned or picture
shown, please contact The Webmaster:
webmaster@chipandclada.com. Pictures are the sole property of
our friends and family.


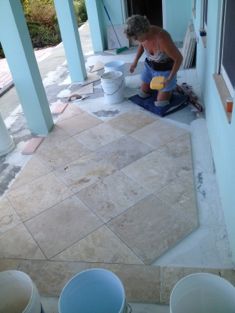
 Then Clada had to go into "mosaic mode"
and get the front door field tile done.
Then Clada had to go into "mosaic mode"
and get the front door field tile done.