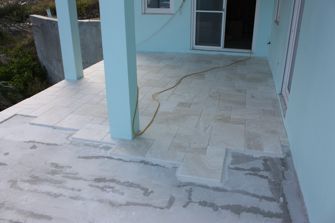
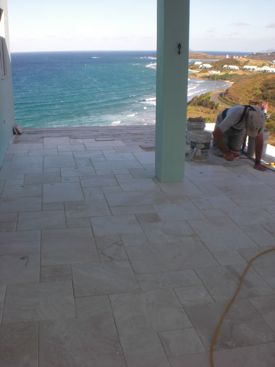
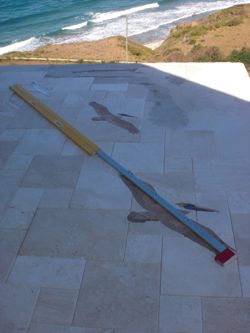
Step 64 - Tiling the Pelican Patio This
is a painful step. Our patios are perfectly level, and we need
them to slope so water drains properly.
Consequently, we doing a whole lot of work, slowly building a
slope on the patios. We wish we had poured them with the right
slope...
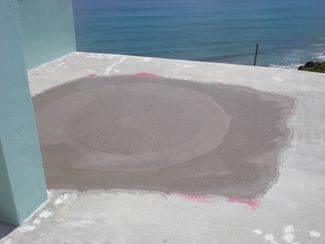
Our first step was to level out an area where water pooled. We
hadn't had any leaks, but we want to play it safe.
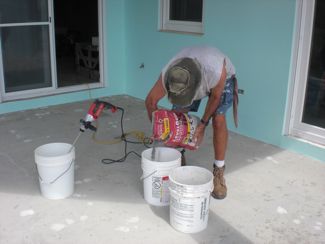
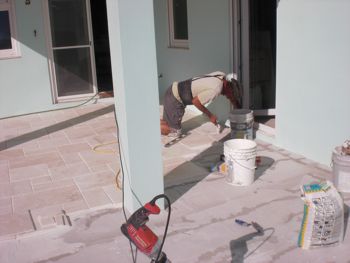
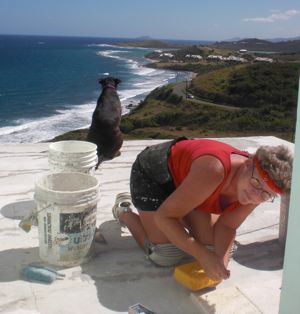
We've done a lot more work, but
we're both working so hard spreading thinset or mortar that there is no
one to take pictures.
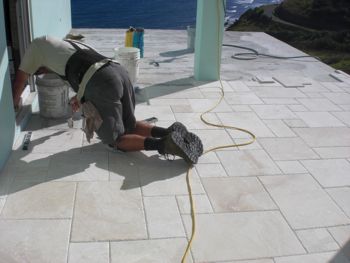
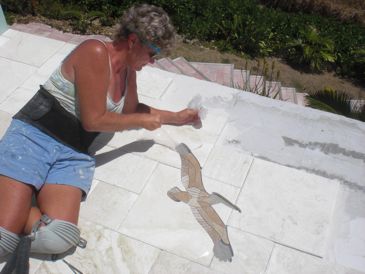
Once we built up
the slope on the patios, we were ready to start tiling. Rainy
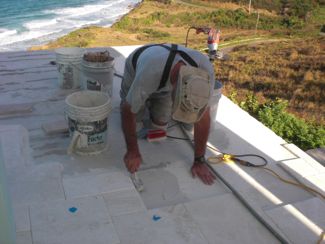
weather caused this project to be extraordinarily slow! Clada and Chip worked pretty well together
laying the tile.
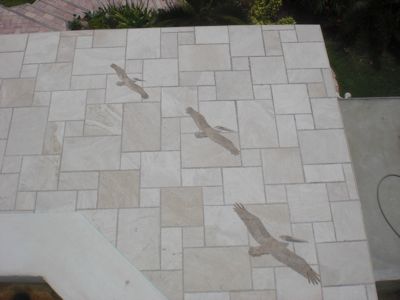
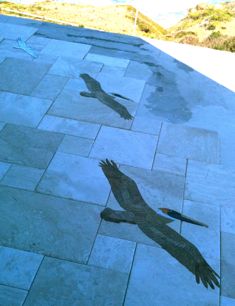
We don't do anything the easy way. Of course we have to have
mosaics installed on our patios!
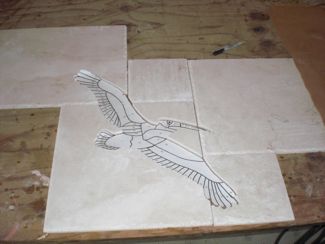
Chip constructed the pelicans last year...it
took us forever to get to the actual installation of the birds.
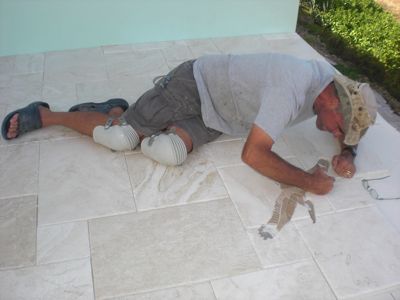
Three pelicans were painful to install; Chip had to
make a 4th pelican because Pelican #3 was too small in perspective.
Chip re-designed the pelican to make him larger so he looked better
flying in formation.
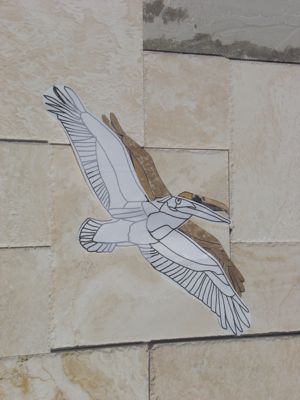
After cutting out the new pelican, Chip had to re-cut the background
tile to reflect the larger bird.
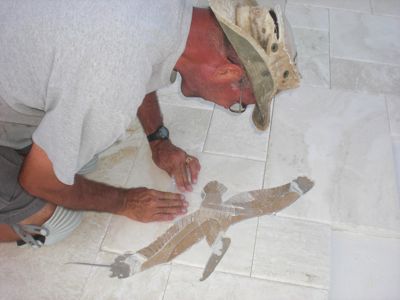
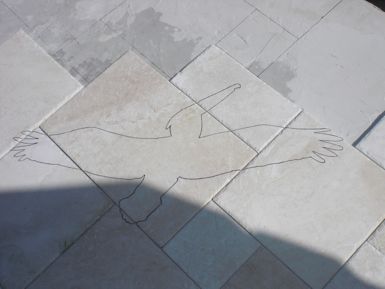
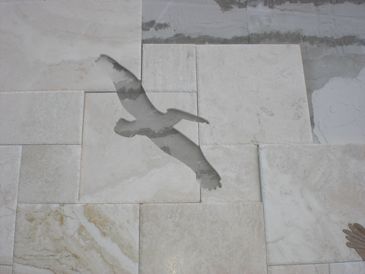
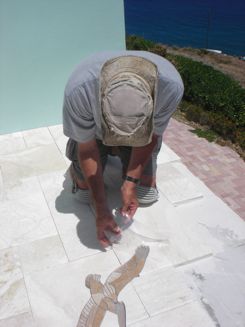
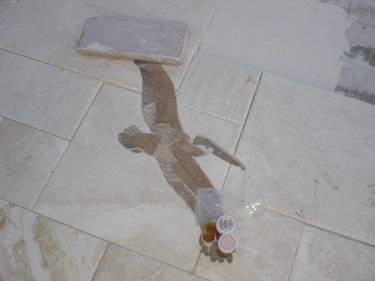
Installation of the pelicans was a team effort.
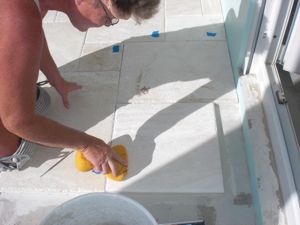
The travertine, marble, and granite tile was different thicknesses, so
we installed the bird in sections.
The main body was installed first.
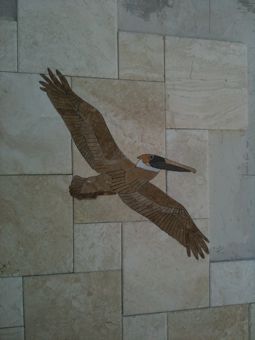
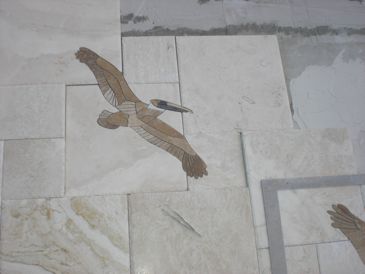
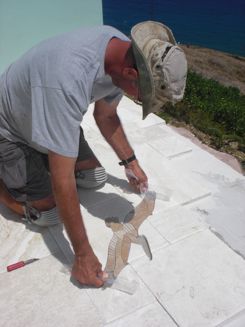
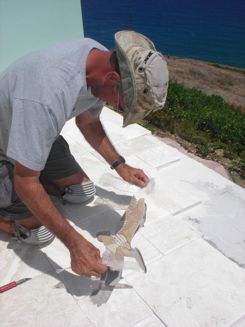
Chip cleaned out the joints, and then we installed the wing tips and
head pieces
individually.
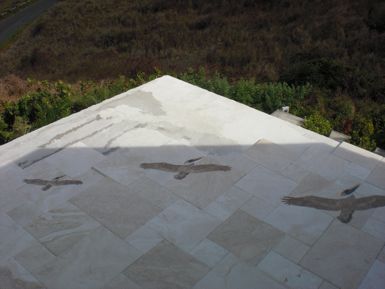
This operation was repeated 3 times since we had 3 pelicans to install.
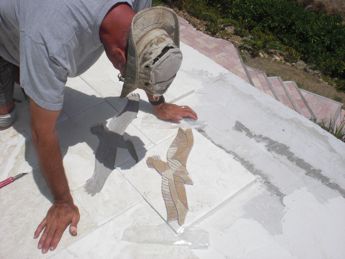
Whew! This patio is finally done. We love how the pelicans came
out.
This
website is for the personal
use of our friends and
family. If you don't want your name mentioned or picture
shown, please contact The Webmaster:
webmaster@chipandclada.com. Pictures are the sole property of our
friends and family.


 Clada and Chip worked pretty well together
laying the tile.
Clada and Chip worked pretty well together
laying the tile. 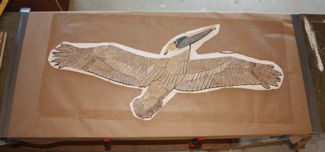
 The main body was installed first.